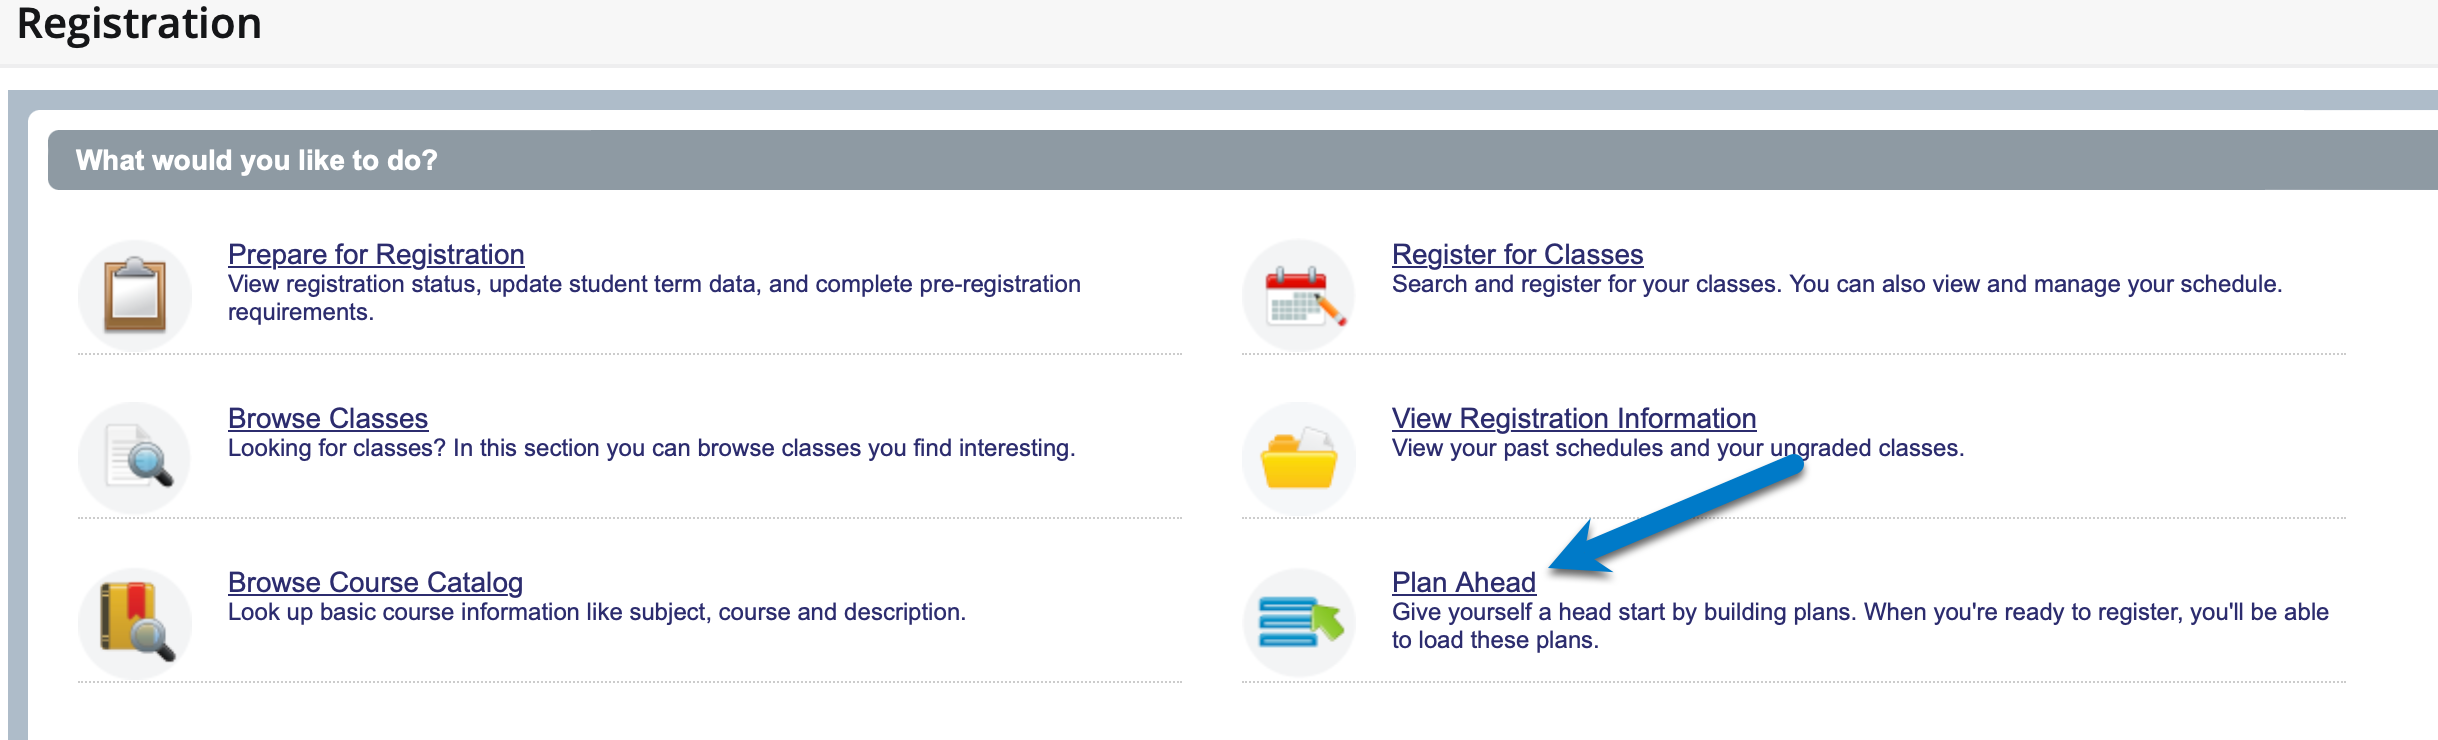
Plan Ahead
Give yourself a head start by building a plan for the upcoming term. When you are ready to register, you can access these plans. This can be a major benefit to minimizing the energy spent on registration.
Web4U Guide
Plan Ahead - A Step By Step Guide
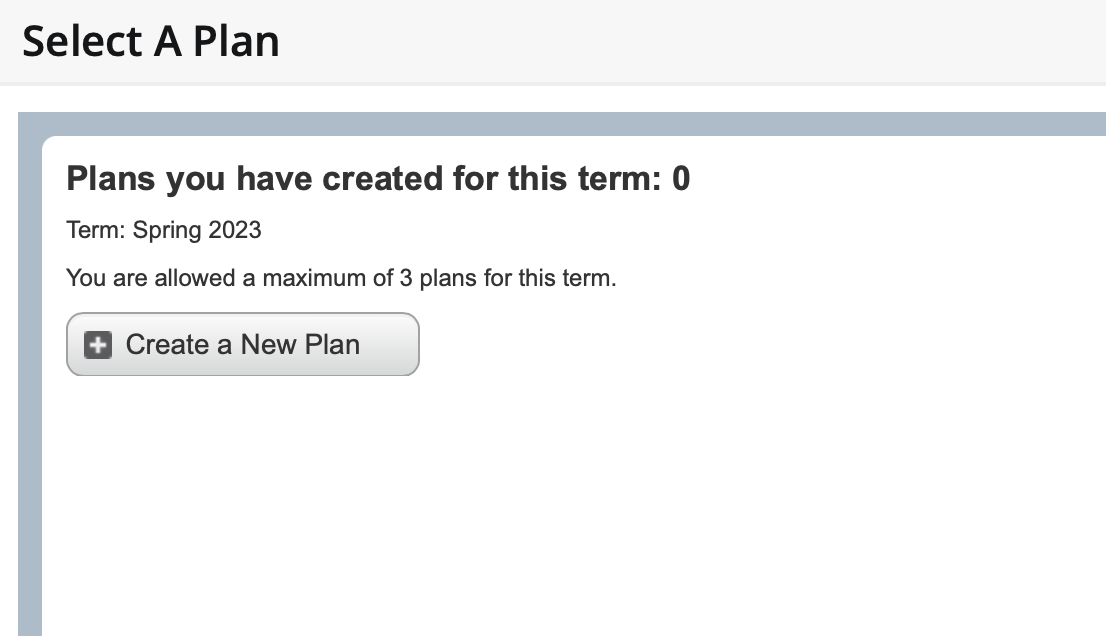
Step 1: Create a Plan
Students are able to create up to three plans for the term in question. The first step on the path to creating a plan is to select the Create a New Plan button.
Step 2: Search for Classes
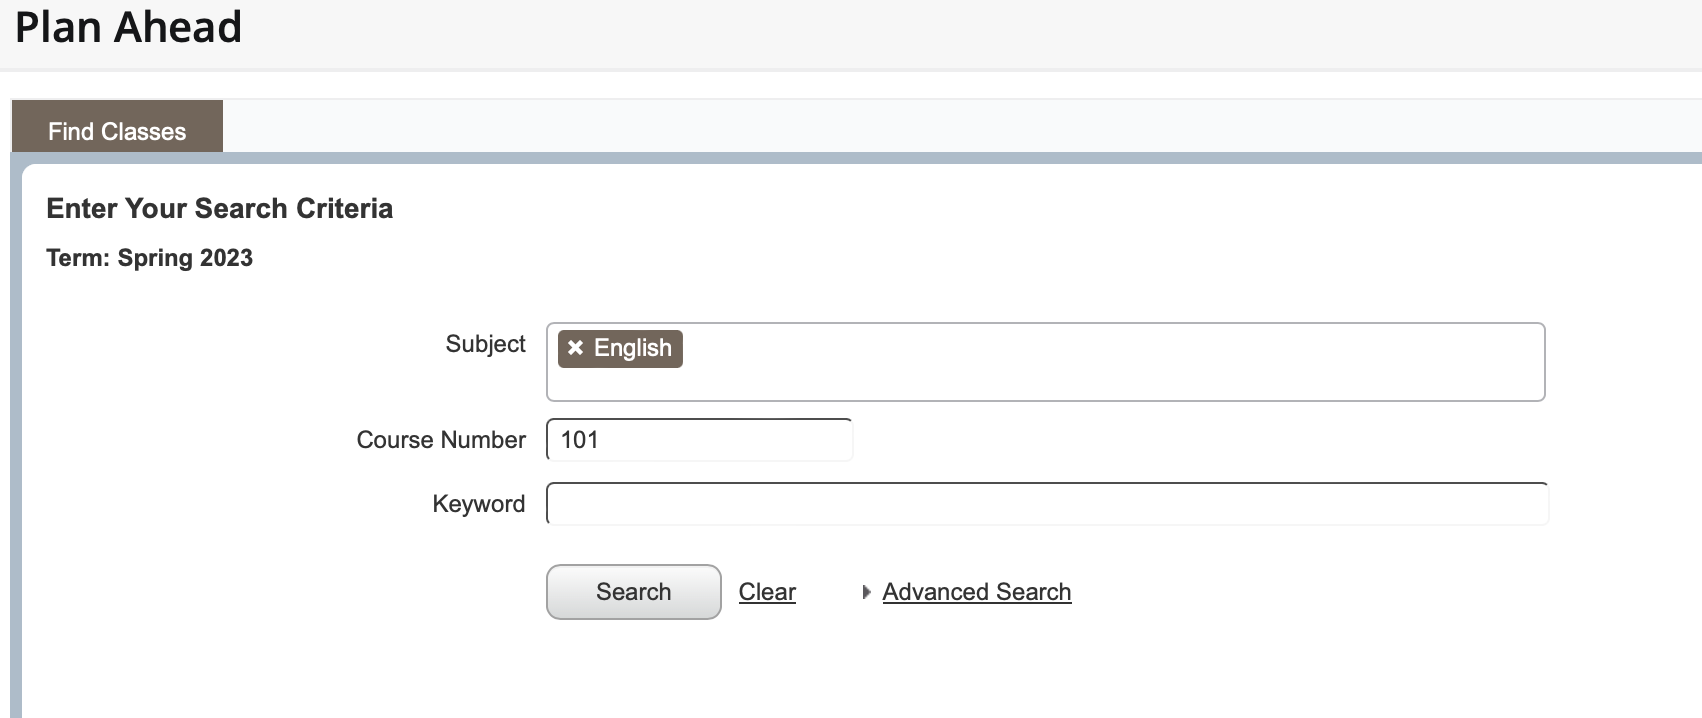
Search for Classes
Students are able to research courses they'd like to add to their plan by using the search fields on the Find Classes page.
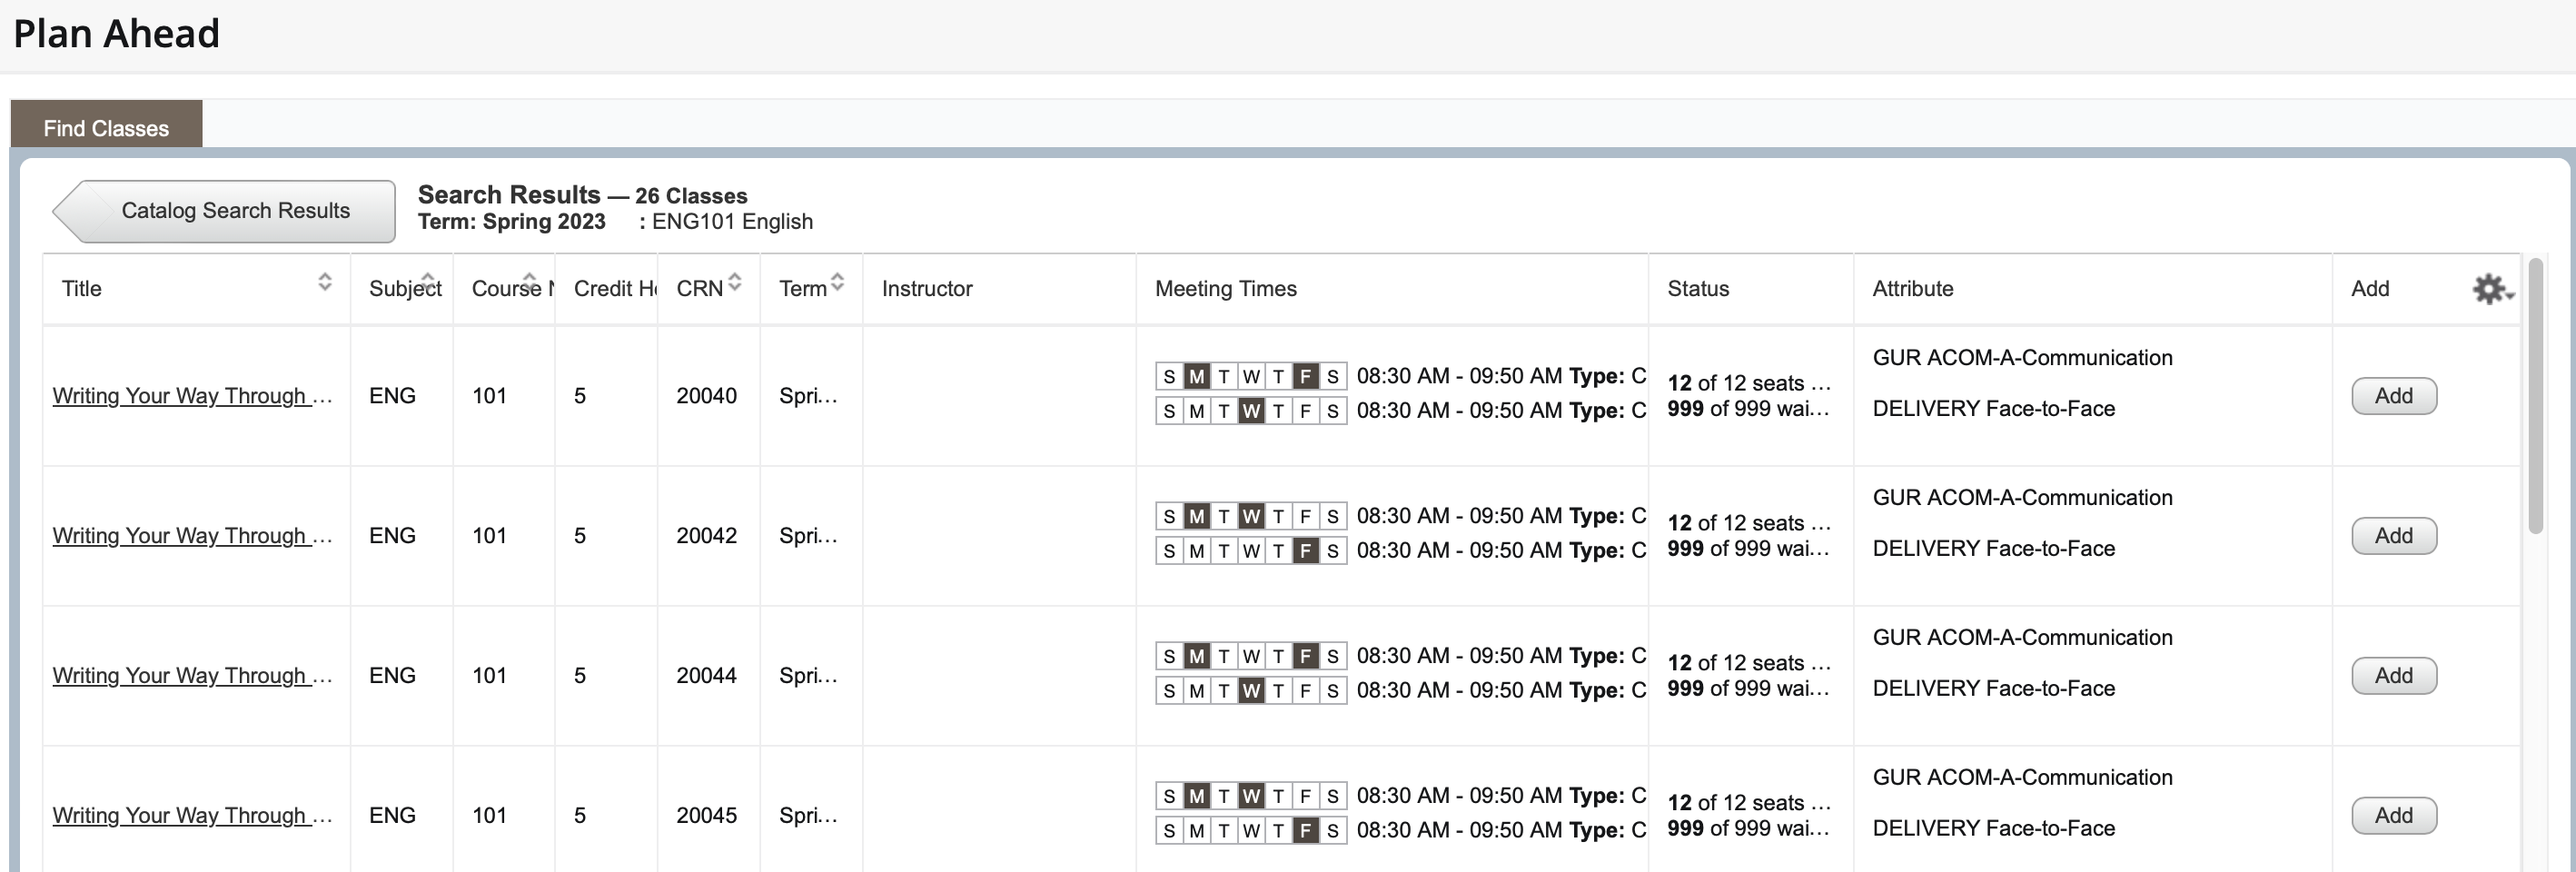
Search results will provide course titles and course number, as well as provide options to view sections and add the course to the plan.

Step 3: View Sections
When viewing sections, students are able to see all possible courses that can be added to their plan. Students can also select individual courses by title to review details before adding.
Step 4: Add Class to Plan
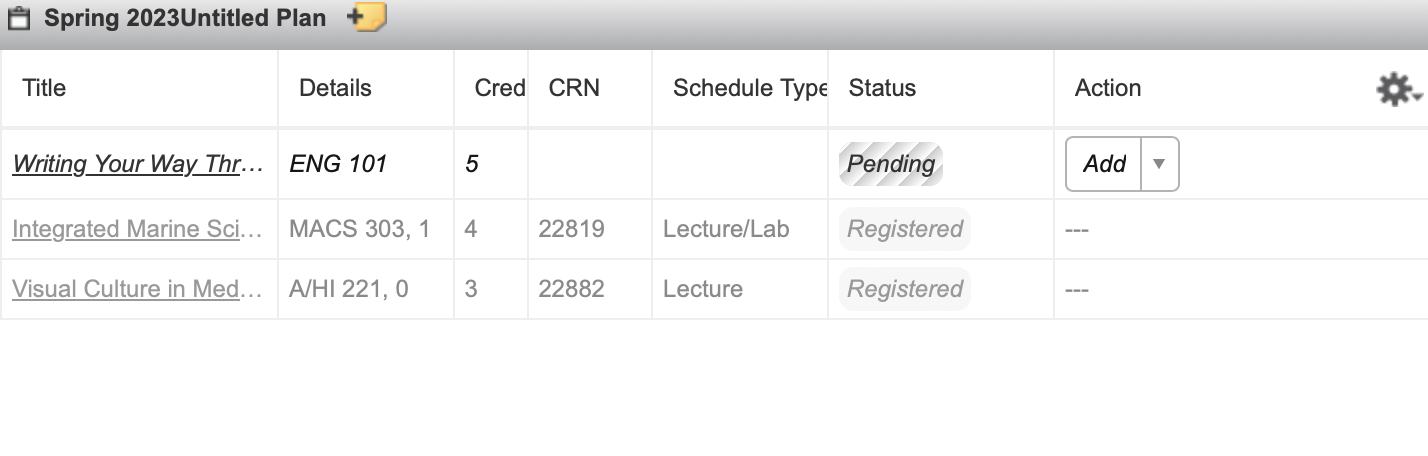
After adding a course to the plan, it will display as pending. Once all courses for the plan are in place, students can submit the plan.
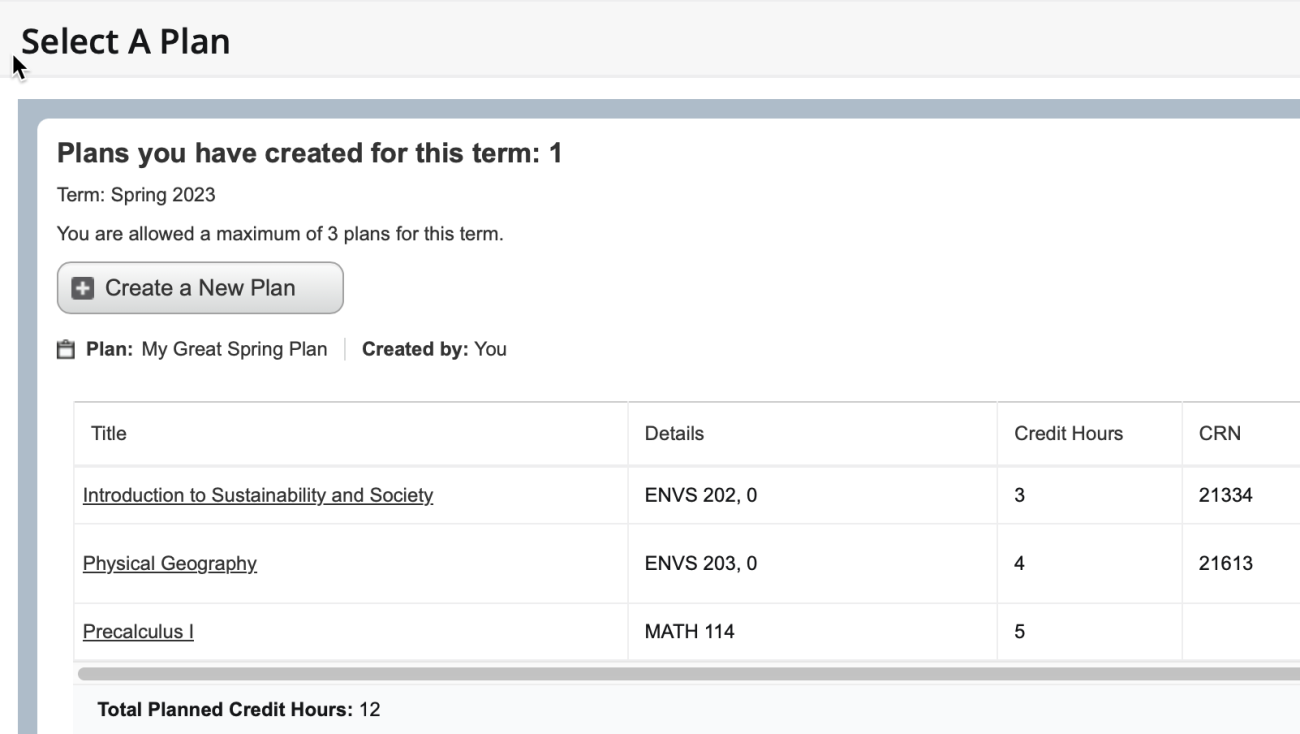
Step 5: Name Your Plan
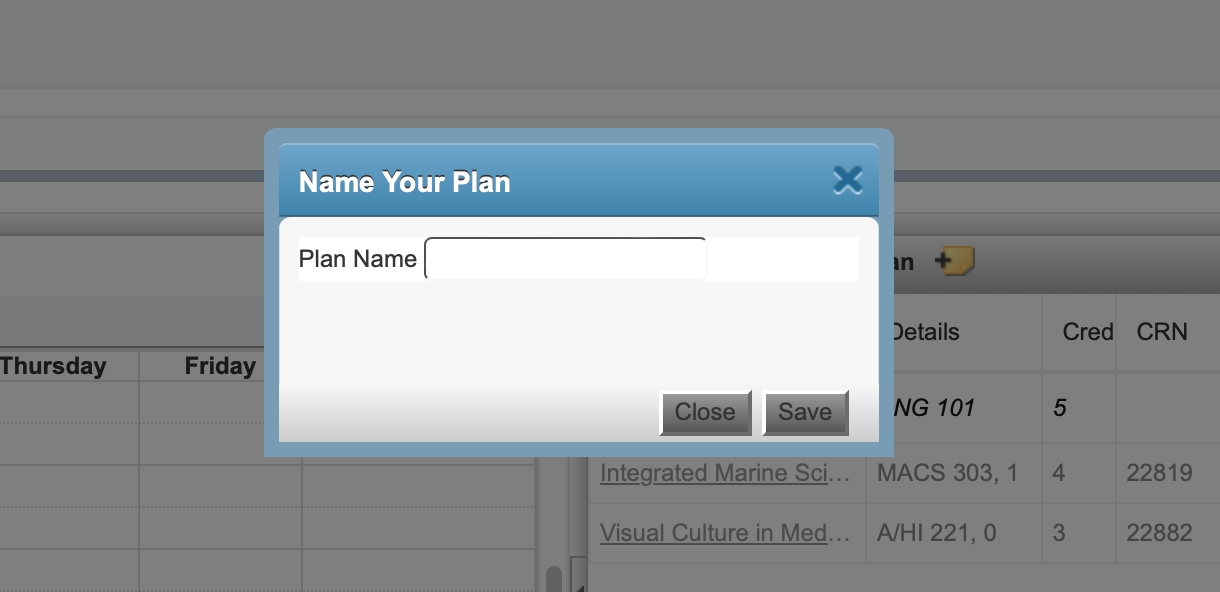
Once a plan has been created, the next step is to provide a name so this can be referenced with ease later.
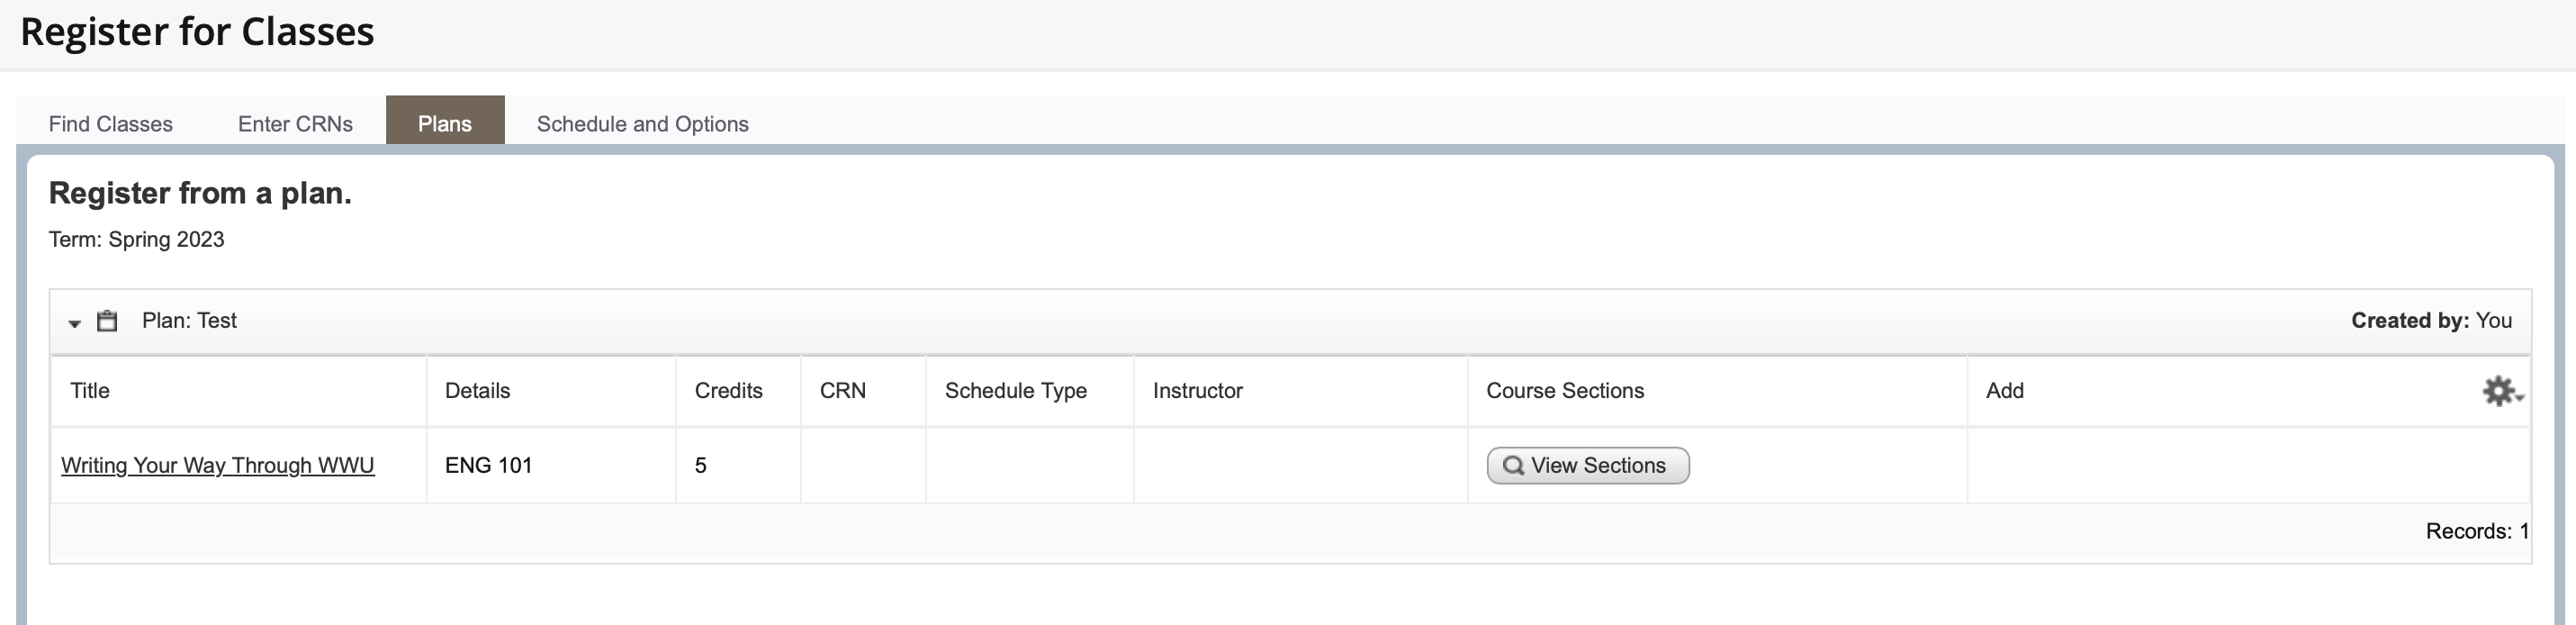
Step 6: Register for Classes
Students can register for classes from the Plan tab by selecting the course and then the proper class they are seeking.